

Intro To Facebook Ads
Facebook has become one of the most affordable and effective means of advertising in 2016. However, if you have not put in the work to figure out who your Ideal Client is, spending money on advertising could be a waste. We talk to photographers every day who are frustrated with Facebook. Three years ago their Facebook Biz Pages were performing well for them so they sat back and enjoyed the ride rather than research the next trends. As a result, these photographers concluded that Facebook no longer “works”. The main reason why they reach this conclusion is because they haven’t done the required research and planning to know how to target their audience. As a result, we have put together this blog series called a Photographer’s Guide to Facebook Ads. In this article we will go over how to setup your facebook pixel as well as how to create custom and lookalike audiences. Below you will find a full video walkthrough. If you missed the first article in the series called “Using Facebook Ads Wrong?” you will want to go back and read that first. In that article we discuss the importance of knowing who your ideal client is so you can effectively target them on Facebook.
Photographer’s Guide to Facebook Ads
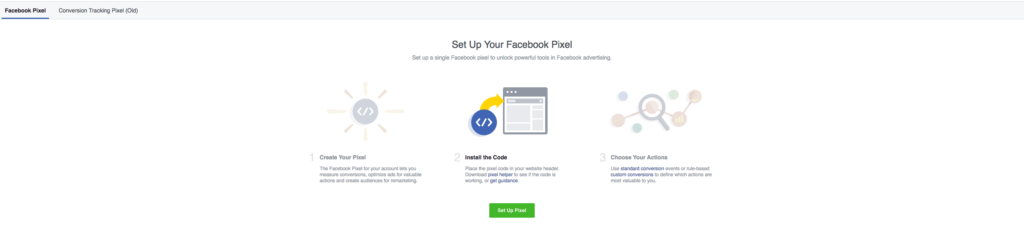
The first thing you will need to do, before ever running an ad on Facebook is to install the Facebook Pixel. This is done by opening your Facebook ads manager. If you have never been to the ads manager, you will need to create your pixel. Once you click to open your ads manager, click on Pixels. You should then see this on your screen. Go ahead and click to create your pixel.
After you create your pixel code, install that source code onto every page of your website. (Check with your website provider if you need assistance) Once you have it installed you will want to use the Fb Pixel Helper to make sure it is firing correctly.
Utilizing Custom/Lookalike Audiences
Once you have the Pixel installed you are ready to create custom audiences. A custom audience is created by exporting your email addresses of your past clients into a csv file. You then upload that file to facebook and match the different fields in your file to the options available in facebook such as “Name”, “Email”, Etc. When you are done doing that Facebook will ask you if you want to use that audience to create a lookalike audience. Go ahead and click to do so and make sure you name it as well.
Why All The Fuss?
By now you probably are thinking to yourself, “Wow self, this is confusing and semi-annoying to utilize.” Well, hang in there! Let’s discuss 3 major reasons why/how using the Pixel along with custom audiences can revolutionize your business.
1 – The more you know about your potential client, the better your chances are of landing them. Facebook knows “all the things” about them…all of them! No seriously, it’s insane how much data Facebook is able to glean about us. In addition, you can target newly engaged couples etc making your CPC(Cost per Click) CTR(Click through Rate) substantially lower than if you just boosted a post on your biz page. This will ultimately result in a much better ROI.
2 – You will now have the ability to see exactly when people are leaving your website. More importantly, you can now retarget them with endless follow-up options.
3. You can utilize sales funnels to guide your potential clients through your ecosystem. With every decision they make on your website, you will be able to set up automated follow-ups. Haven’t heard of a sales funnel? Click Here to Learn more.
Conclusion
This whole article is full of annoying things you have to do. I get it. Here is the thing though… The people that are running successful, six-figure businesses, have already realized the power of Facebook ads. Don’t miss out.
New to Facebook Ads? Need help with the Pixel? Click Here To Sign Up For Our FREE 7 Day Facebook Ads Challenge!
Comments are closed.